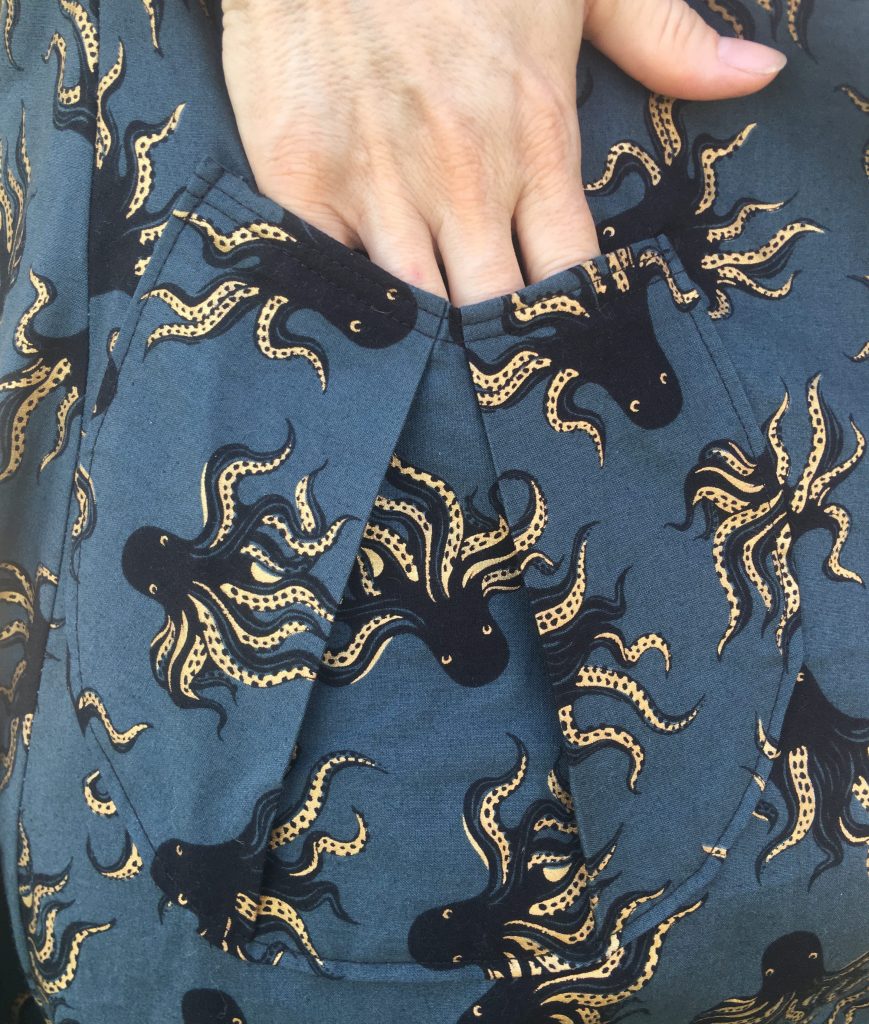
While contemplating pocket layout options for my recent Dress No. 3, I eyed the two castoff armpit scraps. They were too small for any of my pocket patterns, so I fashioned a reasonably roomy patch pocket that can be made with an awkward, narrow scrap, allowing me to hoard my bigger scraps for something else (e.g., masks). Ta da!
(Note: making these from armpit scraps only works when it’s a non-directional pattern. Otherwise, it’s not overly-thrifty fabric-wise, although it will allow you to use a shallower than normal scrap and still produce reasonably deep pockets.)
Here’s what you do (forgive my sloppy photos; I was just taking pictures for my own reference, but if I wait until I get around to making more, I’ll never write a tutorial). Start with an armpit cutaway, or any scrap that’s too narrow for your usual pocket patterns.
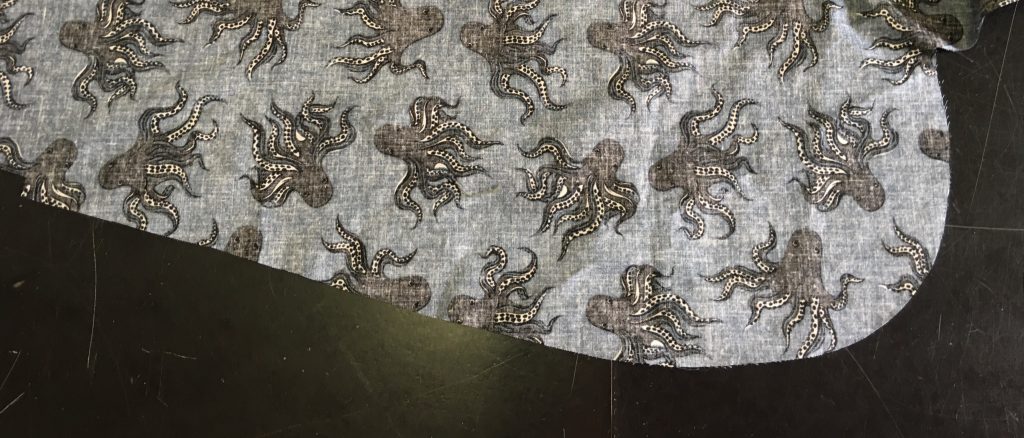
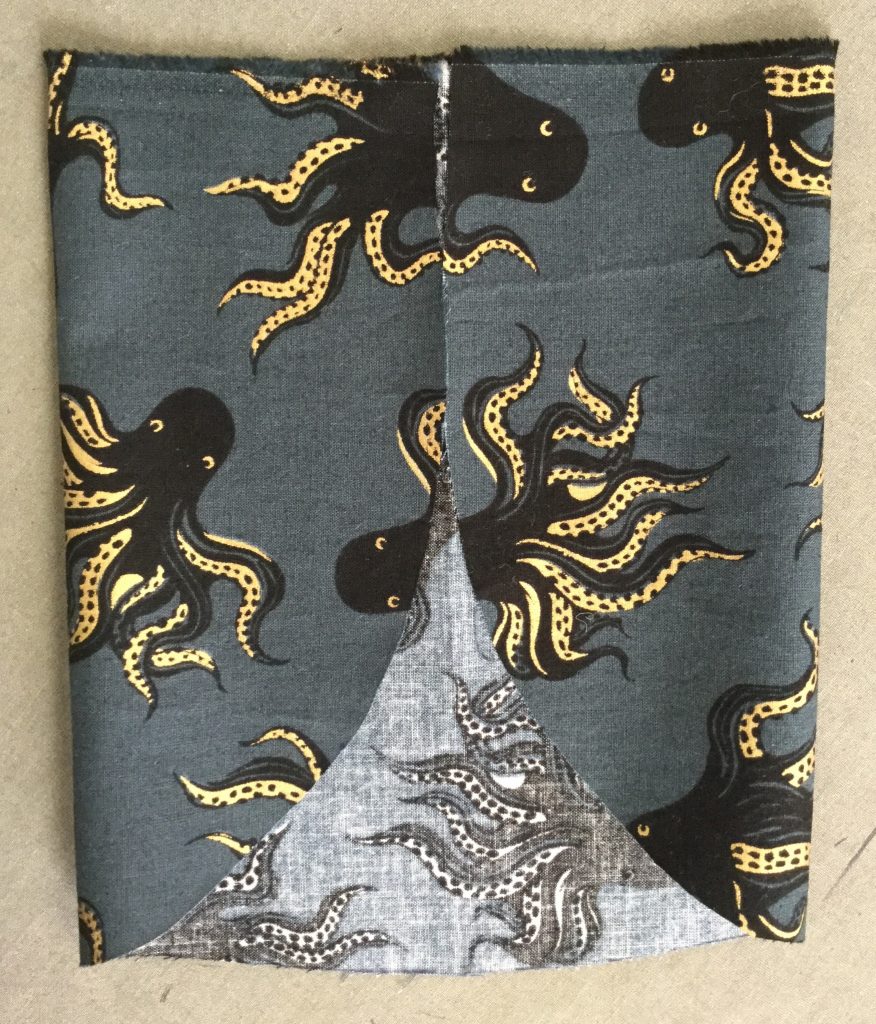
Fold it in half at the widest point where you can still fit the curve on the other side, then cut the other side away along the curve.
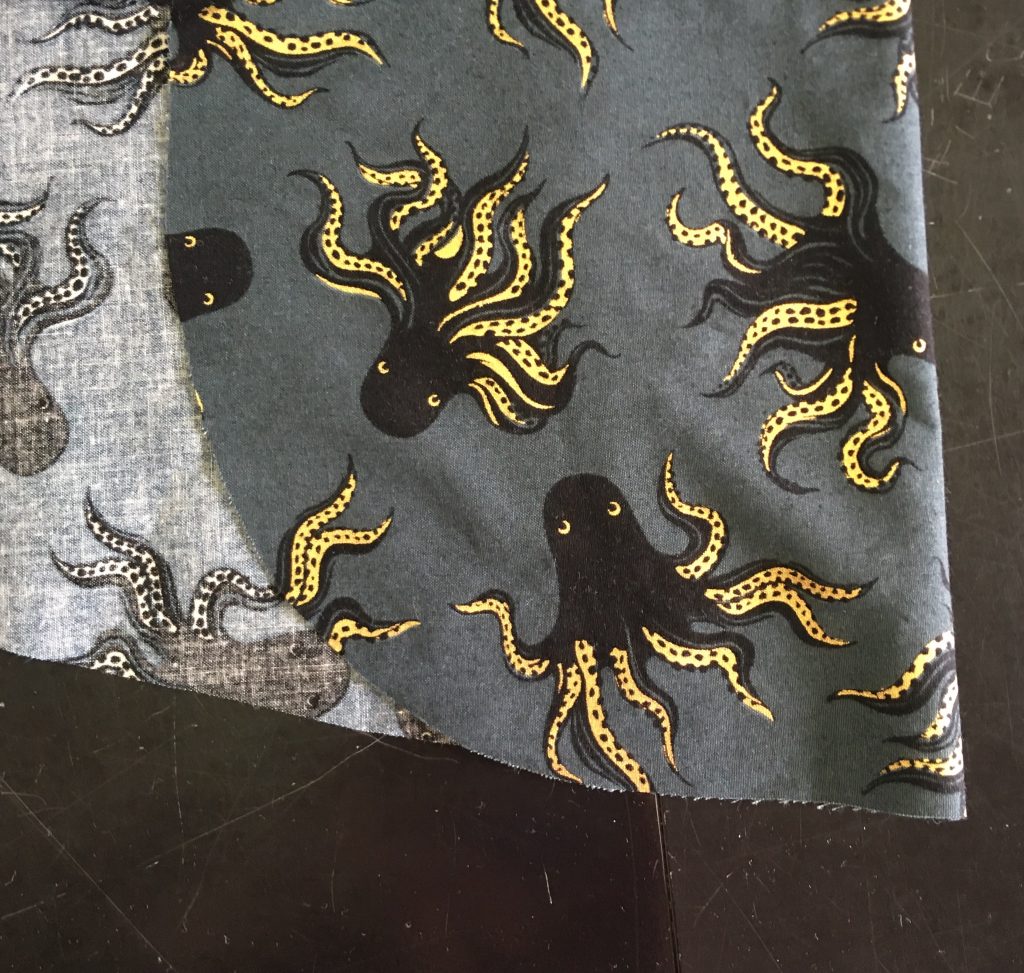
Fold with right sides facing and press (note the next 3 pics weren’t actually pressed because they were just reference photos for me; but it’s much easier if you press after each step).
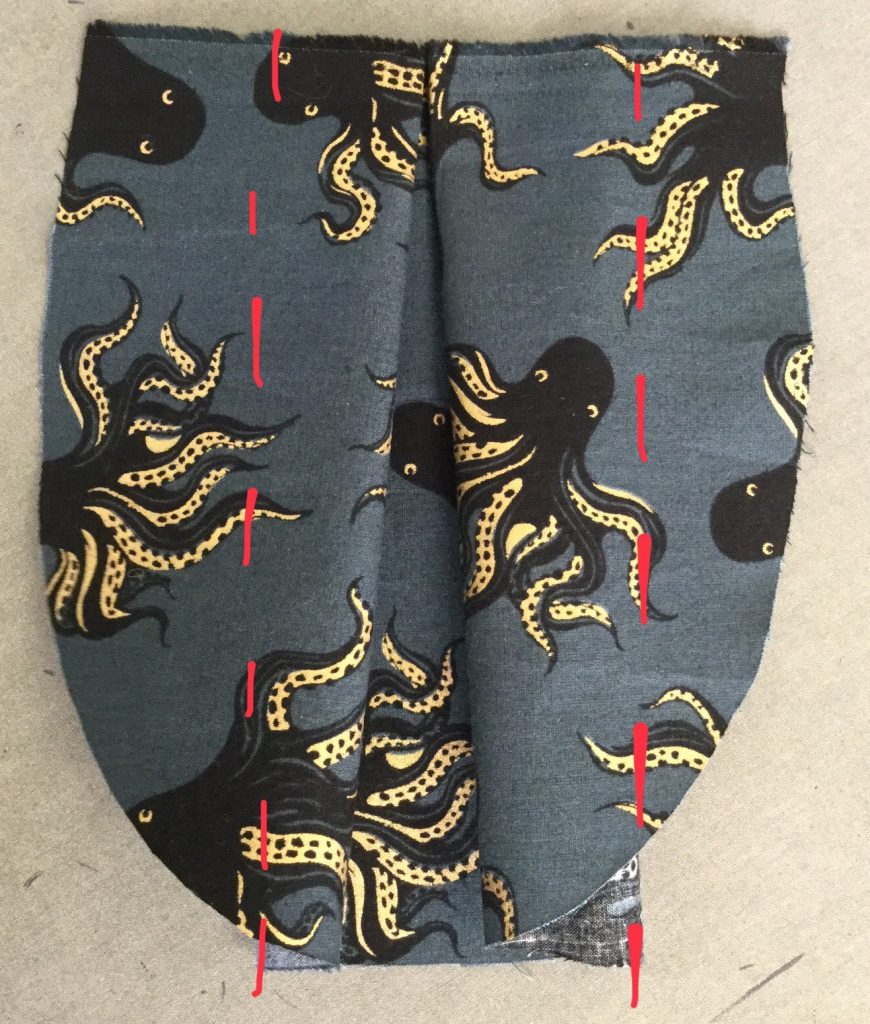
With wrong sides facing, fold ends in to meet center fold. Press.
Flip it over and bring outside pressed edges together so they meet at center fold (if they were pressed, would touch neatly at center). Dash shows box pleat, where the folds on the underside are. Press.
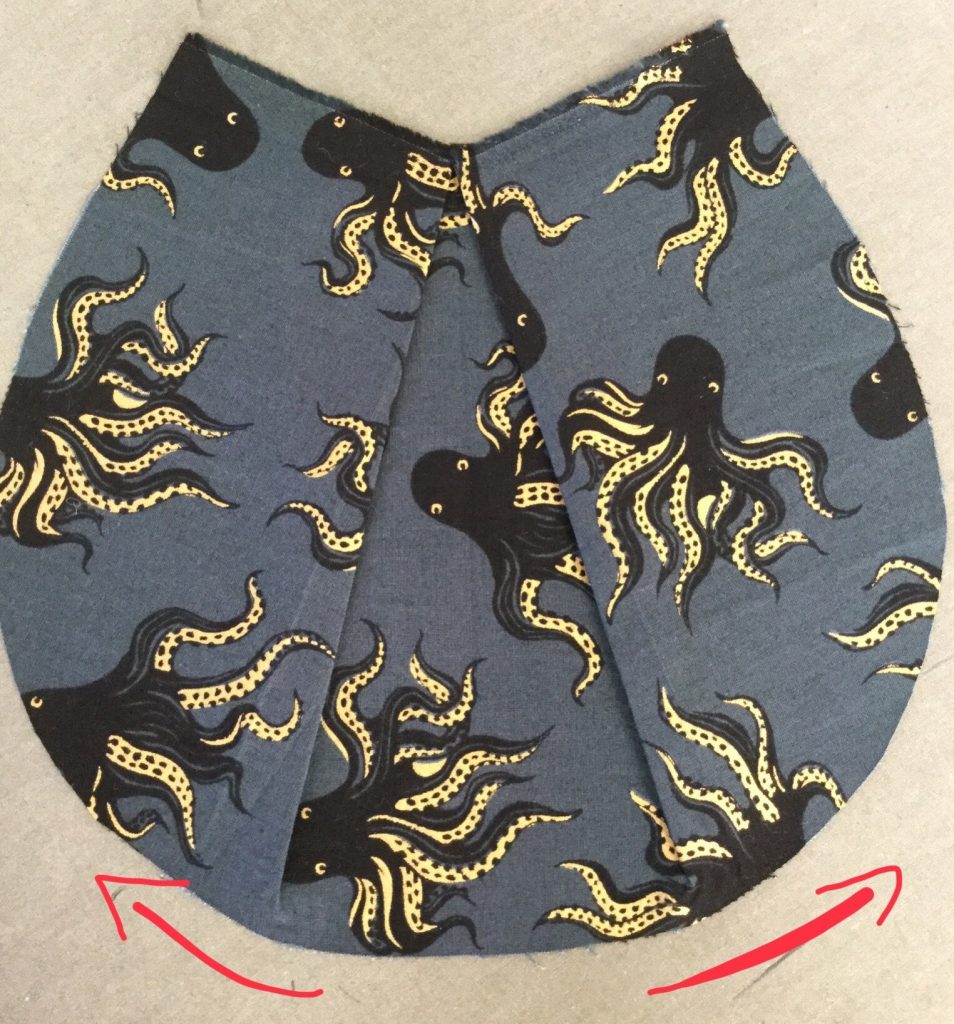
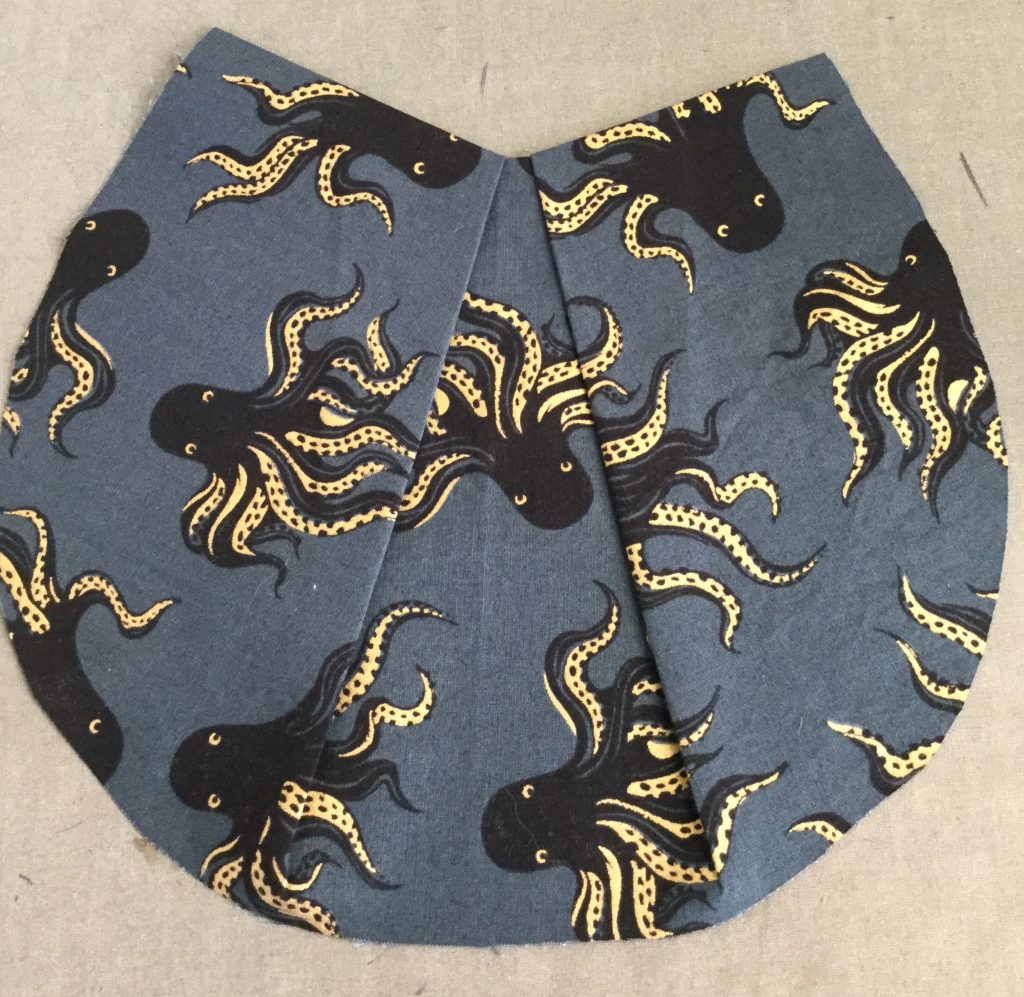
Keeping top folds in place at center, spread bottom edge to create smooth curve. Press (hey, I did it!).
Finish top edge with bias tape as for neckline (shown before top-stitching it down). This way you only lose a quarter inch off the top instead of squandering a whole inch.
Repeat with the other. Then baste them together, press, an apply them as per the patch pocket tutorial on 100actsofsewing.com.