
Time: 4 hrs
Cost: $0
Skills: Knitting in the rnd on dpns, single crochet.
Level: advanced beginner
You could easily change the size just by adjusting the yarn weight & needle size. He’s all scraps, so he’s free, hurrah!
I didn’t weigh the yarn, so I don’t have exact quantities, but I’ll just make a very generous guess. Use leftovers & scraps (I wrote the brand used when I knew what it was, but anything similar from your scrap bag will work). The head & torso work on 8st increments for increases & decreases. The bottom uses 6st (because of the change in st after the arms).
For additional accessory/decoration options see: Thrifty Critter Wizard Hat & Scarf pattern.
Yarn:
- body: 25g dark red worsted wool yarn (used a Lamb’s Pride type 1-ply)
- scarf: 15g self-striping sock yarn (used Lion Brand Magic Stripes in 202 Sea Blue)
- hair: 6″ super bulky soft twist (used Blue Sky Alpacas Bulky 1007 Gray Wolf)
- eyeballs: 2 yd off white or white DK yarn (used Blue Sky Alpacas Sportweight in 000 Natural White)
- 1yd bright blue DK wool yarn
- 1yd bright green DK wool yarn
- 1′ black DK wool yarn
Needles
- set/5 US5 dpns
- US3 needles
- small crochet hook
- yarn needle
Misc:
- clusterstuff, scrap yarn, strips of rag or pantyhose for filling
- beans to fill the bottom half (tie them up in a bit of cloth, net, or pantyhose so they don’t spill out while you knit the bottom)
Instructions
With US5 dpns & red yarn, CO 8. Divide between 3 needles (you’ll save the extra needle to use later) & join & PM, being careful not to twist stitches. I used k into f&b of each stitch for my increases, but M1 would be tidier.
Head
Rnd 1: *K fbl, repeat across rnd–16 st
Rnd 2 (and all even rnds): Knit.
Rnd 3: *K1, K fbl, repeat across rnd–24 st
Rnd 5: *K2, K fbl, repeat across rnd–32 st
Rnd 7: *K3, K fbl, repeat across rnd–40 st
Rnd 9: *K4, K fbl, repeat across rnd–48 st
Knit 9 rnds.
Neck
Note: Pay attention to tension–it’s easy to make these rapid decreases baggy.
Rnd 1: *K4, ssk, repeat across rnd–40 st
Rnd 2: *K3, ssk, repeat across rnd–32 st
Rnd 3: *K2, ssk, repeat across rnd–24 st
Rnd 4: *K1, ssk, repeat across rnd–16 st
Knit 8 rnds.
Body
Rnd 1: *K1 K fbl, repeat across rnd–24 st
Rnd 2 (and all even rnds): Knit
Rnd 3: **K2, K fbl, repeat across rnd–32 st (errata change: previously erroneously included a duplicate of Row 1 for Row 3; this has been omitted and row numbering adjusted)
Rnd 5: *K3, K fbl, repeat across rnd–40 st
Knit 4 rnds.
Arms
Using just the next 4 stitches, work 18 rows I-cord.
Using the first 2 st of your I-cord, work 6 rows I-cord & BO
Break yarn, leaving 2′ tail.
Using yarn needle, thread tail back down to base of finger.
Using tail as your working yarn, knit 6 rows I-cord with the 2 remaining live st at the end of your I-cord yarn.
Weave end back down through arm.
Rejoin yarn. K20
Using next 4 st, work 9 rows of I-cord for the 2nd arm.
Using first 2 st, repeat finger as before.
Using next st, K fbl to make 2 st, then work another finger.
Repeat with remaining 1 live st at end of I-cord arm.
Break yarn and weave back down through arm.
Rejoin yarn and K to end of rnd.
Armpits
When you reach armpits, PU 2 st into bottom of each arm–36 st
Next rnd: K tbl of 4 st under each armpit (2 PU st + 1 on either side) to make things tight and tidy.
Using stuffing of choice, stuff the head and neck.

Lower Body
K 7 rnds.
P rnd.
Stuff upper body with more stuffing to desired firmness, and lower body with beans bundled in a scrap of fabric pantyhose, produce net, etc. Leave the tied-off end facing down so you can untie and remove excess beans if necessary.
Bottom
Rnd 1 (and all odd rnds until last 2): Knit.
Rnd 2: *K4, ssk, repeat to end of rnd–30 st
Rnd 4: *K3, ssk, repeat to end of rnd–24 st.
Rnd 6: *K2, ssk, repeat to end of rnd–18 st.
Rnd 7: *K1, ssk, repeat to end of rnd–12 st.
Using yarn needle, thread tail through live stitches, pull snug, tack down, and weave in end. If you like, leave a long tail, and push the needle all the way up through the top of the head (you’ll have to really squash him) and then back down to the bottom before weaving in the ends. This lets to flatten the top of his head a bit, if you wish.
Hair
Using yarn needle, thread bulky yarn through top, leaving a few inches loose. Feed needle all the way to bottom, trying for a weird angle to lodge inside end into beans. Pull needle through loosely so it slips out of yarn, leaving other yarn end snugly inside critter.
To get the wisp, wet the tip and roll it between your palms.
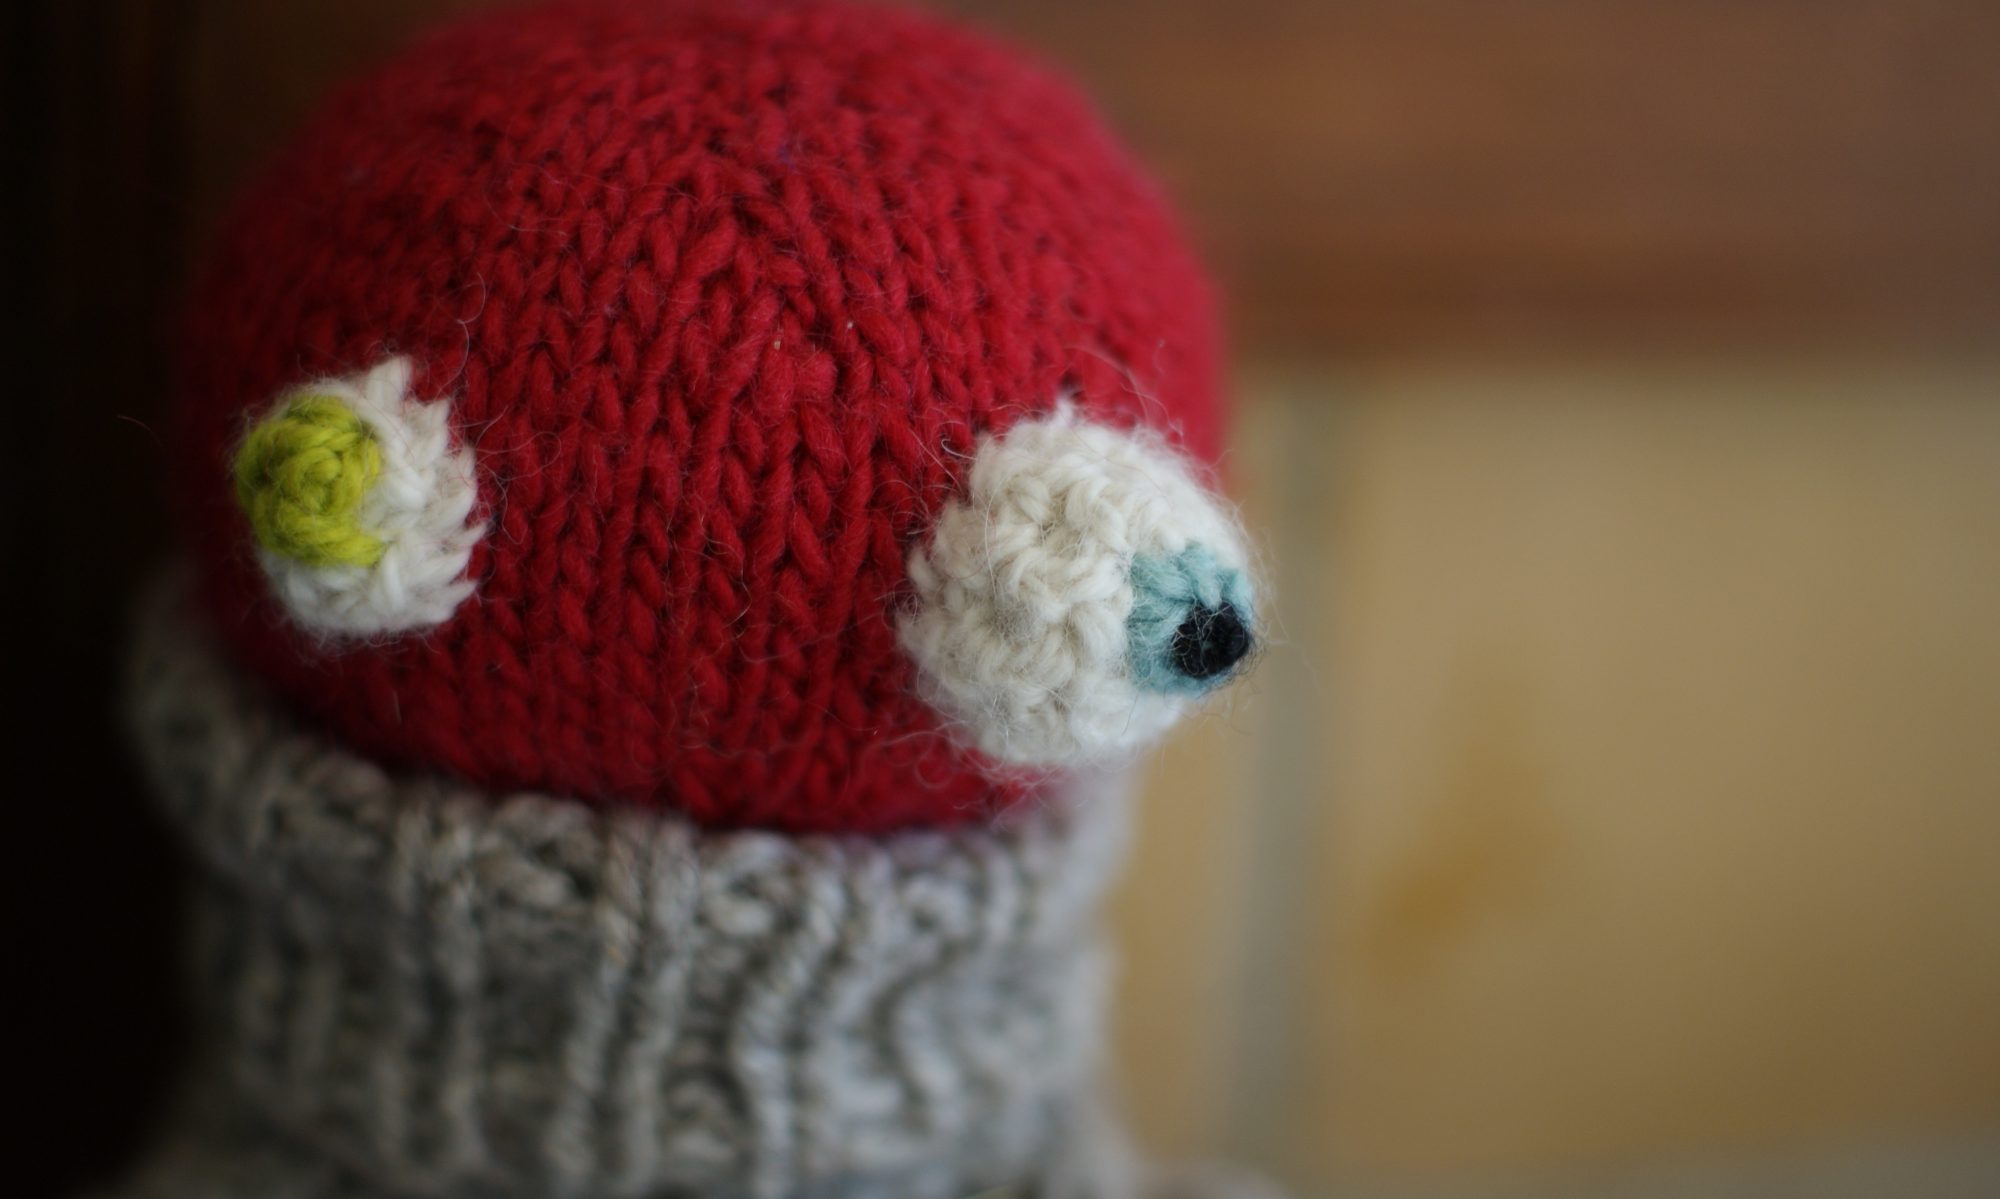
Eyeballs
Big eye: Using white yarn & crochet hook, Ch 3. Working into 1st ch, SC6, then spiral around another rnd & join with a sl st.
Small eye: As above, but only work 1 rnd.
Sew eyes onto head, then embroider irises and pupils. I just did one pupil, which I think gives a nice lazy eye effect to the other eye.
Scarf:
With US 3 needles and self-striping sock yarn, CO 10
Sl 1, K to end.
Work 40″ (finished scarf will be longer than one shown–it’s still in progress. I’ll add some pictures with him wearing the finished length when we get a sunny day). BO.
Fringe ends.
Because I’m a dork, here’s a bunch more pictures:


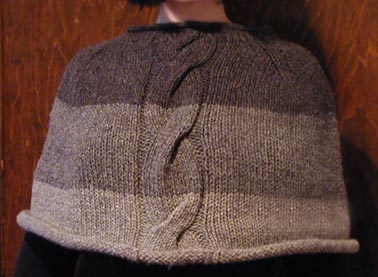
 Time: 6 hours
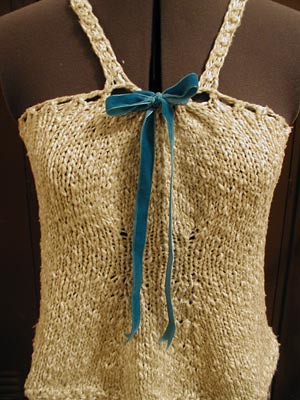 Women’s M, with a lot of wiggle room. Will fit a 34 – 40″ bust, measured at widest part. I was going to try it on with progressively more wildly padded bras to see just how far it would go, but I can’t find it. It’s either in a hamper, or was crammed away somewhere stupid in my last mad dash-and-stash cleaning frenzy.
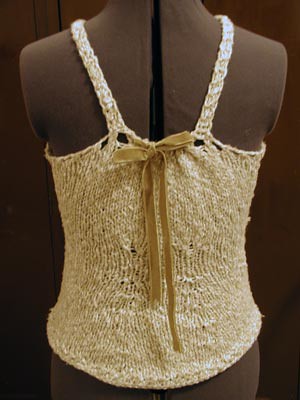 Increase rnd

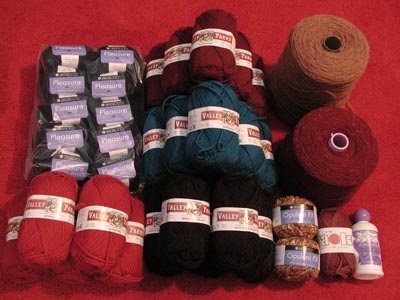
 There’s a bag of Berocco Pleasure (


